At first glance, you might think that this article is going to give you a breakdown of what cops already do — train to ground fight. Yes, we do train for ground fights. As a matter of fact, most agencies have a mandate to conduct annual defensive tactics or weaponless defense training, which typically includes some type of ground fighting component. Some cops might even take it a step further and train jiu-jitsu or mixed martial arts (MMA) to increase their ground fighting capabilities. However, what I am referring to is taking our mat room ground fighting to the next level with live-fire ground fighting.
Law enforcement officers usually train mat room ground fighting at least annually. But when was the last time you transitioned it to live-fire ground fighting? In my experience, just about every cop I have trained in live-fire ground fighting has stated that it was their first time ever doing anything like it. Therefore, I think it is time we ask our firearms instructors to start making nice with our defensive tactics instructors and vice versa. Innovative training that can seamlessly transition in realistic situations from weaponless to weapon-up fighting is invaluable. How do I know that? Glad you asked … I conduct highly intelligent peer-reviewed scientific tests. Well, maybe not totally intelligent or scientific.
When I teach my close-quarters combat handgun class, I conduct a very sneaky, under-the-radar, informal and rudimentary reaction test to see how many of the students have trained in this type of fighting. This is how I conduct the test. I intentionally placed the live-fire ground fighting section during the last two hours of class. This gives an opportunity for all the students to get to know each other throughout the day, enjoy training together as a team and get a tad boisterous. Then, when everyone is comfortable and loose, I introduce the ground fight shooting evolutions and conduct live-fire demonstrations. As you can imagine, there is a very noticeable shift in the class atmosphere. I call this the “pucker factor moment,” which they were warned about at the beginning of the class.
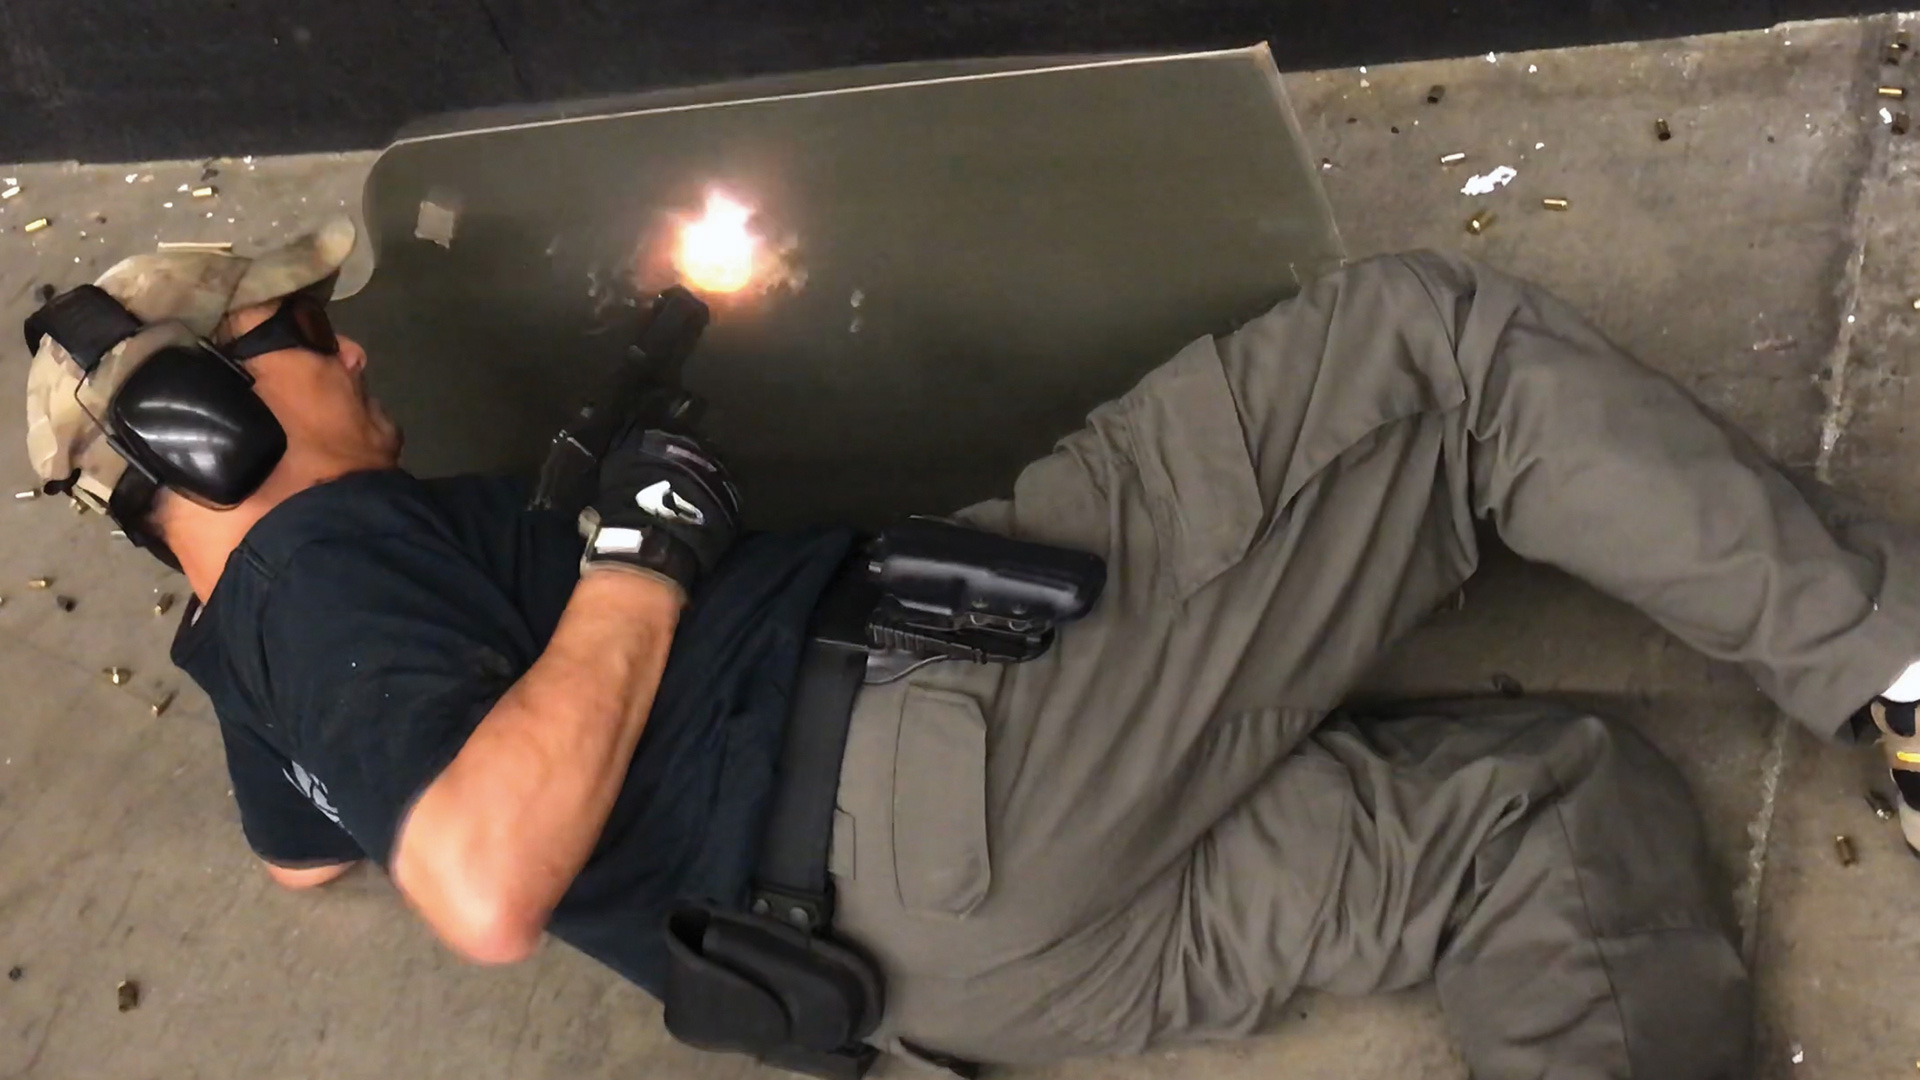
As I start teaching this evolution, I reiterate the inherent dangers of shooting from these unconventional and proximal positions. Then, I repeat the firearm safety rules to make sure their head is back in the game. Finally, I start my sneaky test and listen intently to the students. There are always three different reactions. The first is complete silence. It begins to sink in that these positions put you in extreme proximity to the firearm during the “bang.” I also let them know they will feel a heavy concussion when the weapon discharges, especially in the “urban prone” position (more on that later). After that, I tell them to be prepared to get hit by some small particles because of the muzzle blast. The awkward silence usually lasts the entire time I am conducting the live-fire demonstrations.
The second reaction is the quiet side conversations. Students will start saying things like, “This is super realistic …”, “Whoa …” or just let out some audible sighs. Lastly, I will look around at each of their faces. Most times, I see apprehension and, occasionally, dread. These reactions are a direct result of never training in these specific shooting positions before. I know this because after we are done with the evolutions, the students are back to being boisterous again (a little less than before, though). During the end-of-class debrief, students will report how they have never done anything like that before but are extremely grateful they did, so they know what to expect if it comes down to it.
In my outspoken yet humble opinion, we must start pushing ourselves to train to uncomfortable levels. Levels of training that put us in realistically uncomfortable situations (especially live fire) on a regular basis. This will most certainly help us prevail during a highly stressful event. Believe it or not, there is actually some real science behind my last couple of sentences. A psychologist by the name of Gary Klein came up with what is called the recognition-primed decision (RPD) model. This model revolves around how decisions are made during stressful situations. It centers not on the reliance of precalculated options when having to make a stressful decision but relying on past patterns learned through past experiences. Basically, it is about making quick mental pattern matches. I like to call pattern matching the “seeing it before concept.” The more stressful situations we can see in our mind (mental rehearsals), visually observe or truly experience, the more mental pattern matches we can create and be able to utilize when needed. Now that I have explained some science behind the training, I think it is time to give a brief overview of the training evolution.
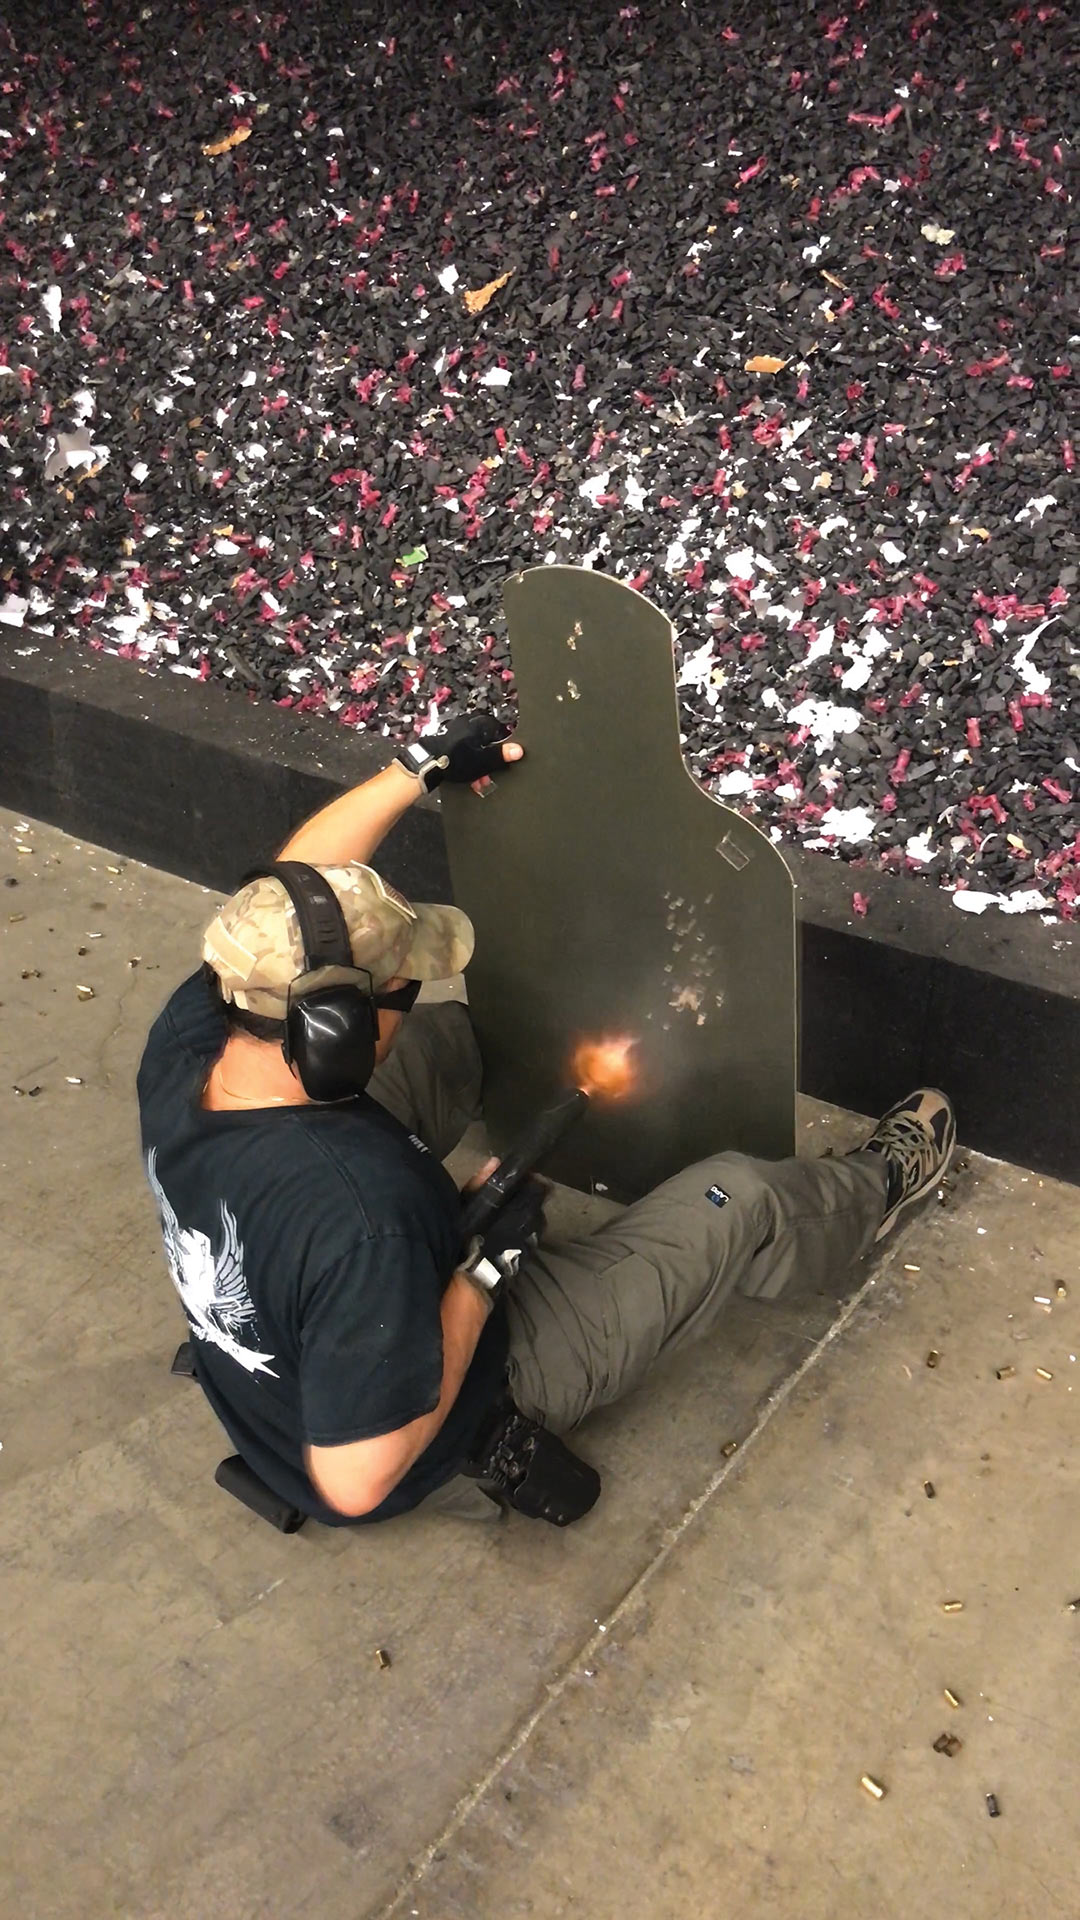
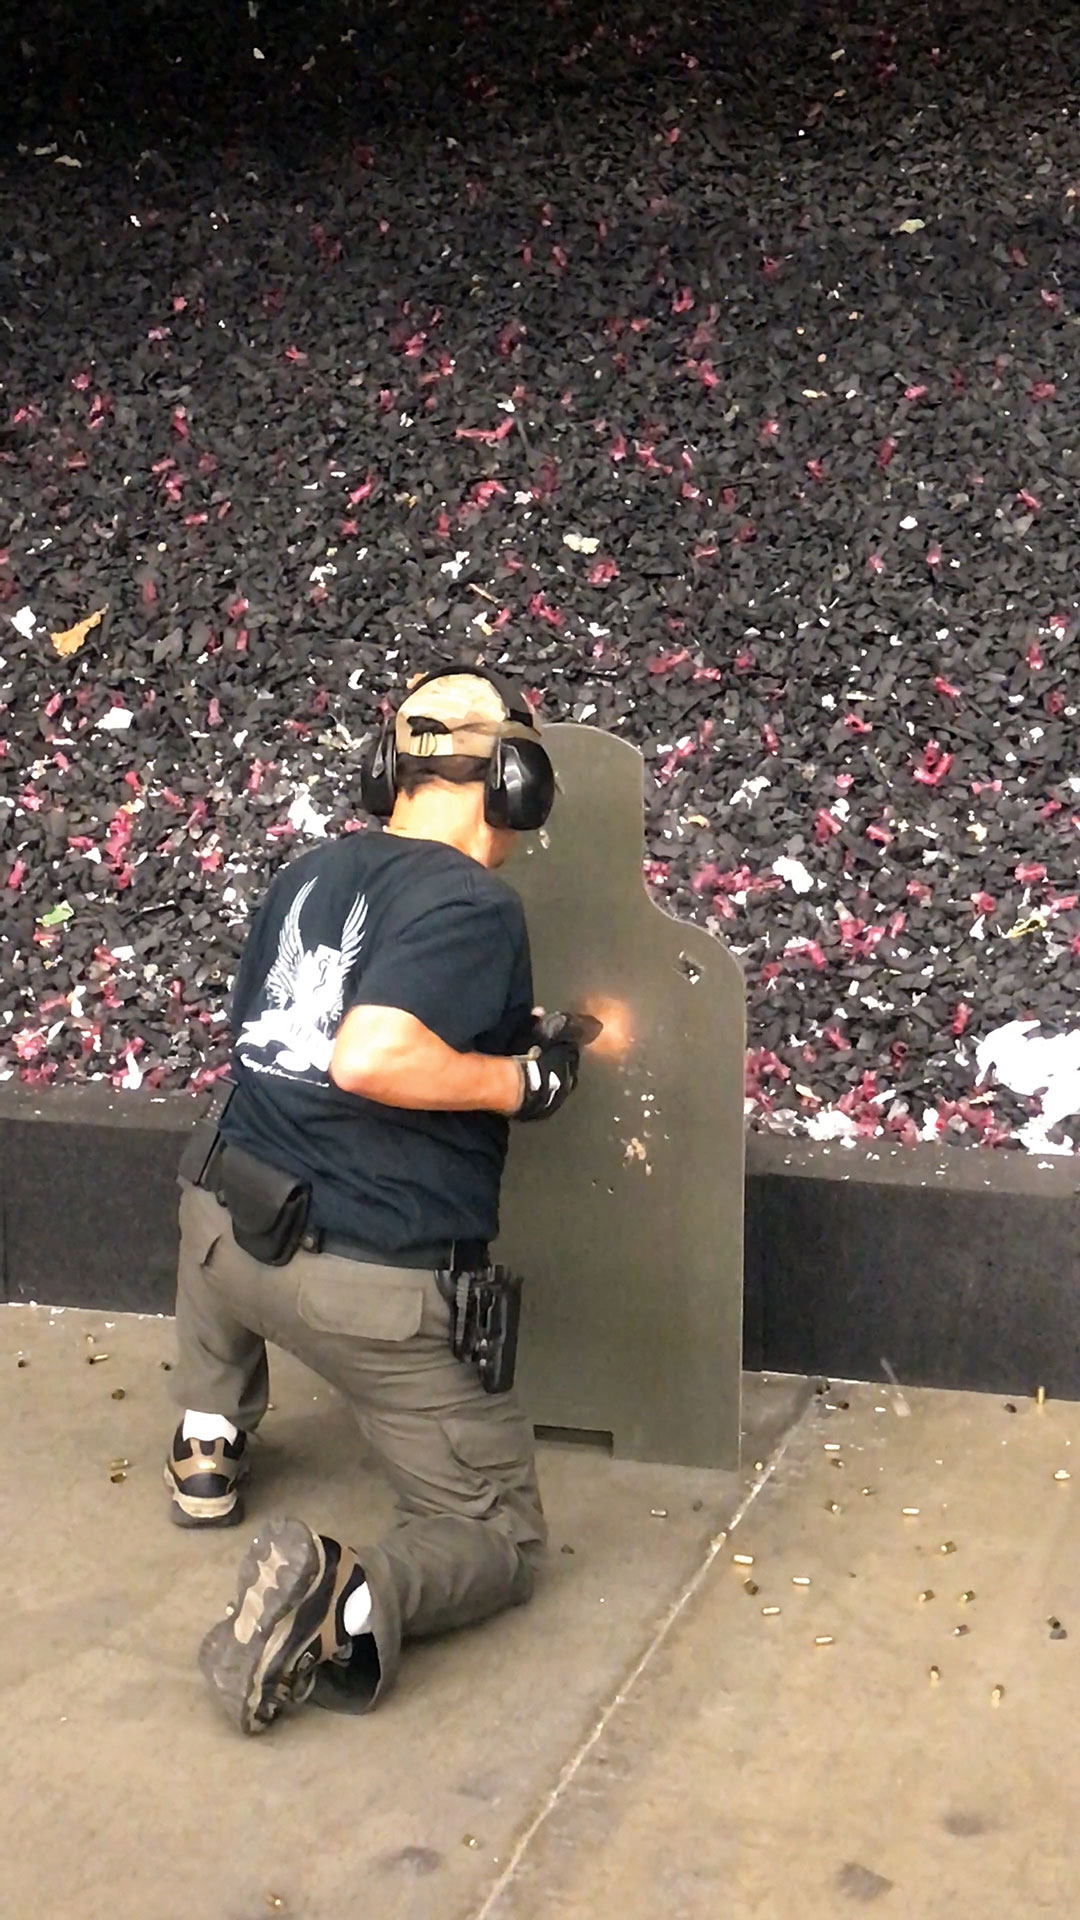
The first position will be the kneeling. I have the students get on one knee to simulate dropping down from the standing position with a suspect during a hand-to-hand fight. The engagement situation surrounding all these different positions is the same. As the student is fighting with the suspect, the suspect begins to pull out a weapon from somewhere on their person. Their intention is to cause the officer great bodily harm or death. At this point, the student must respond with an appropriate level of force. In this case, it is deadly force.
From the one knee down position, I have the students draw their firearm and fire one round on command, then two rounds and finally, three rounds. The kneeling position is not too difficult, as most officers have engaged from this position before. Additionally, the one-handed shooting technique we use in all positions is the “hip retention” firing technique. This is a normal hip-drawn position, but I make sure the students press their forearms firmly against their side to keep the weapon stable while firing. The same round counts are used for all the positions as well.
Next, we move to the “urban prone” position. The urban prone is a strong-side prone position. Urban prone is the position the students will feel the largest concussion while firing, so be prepared.
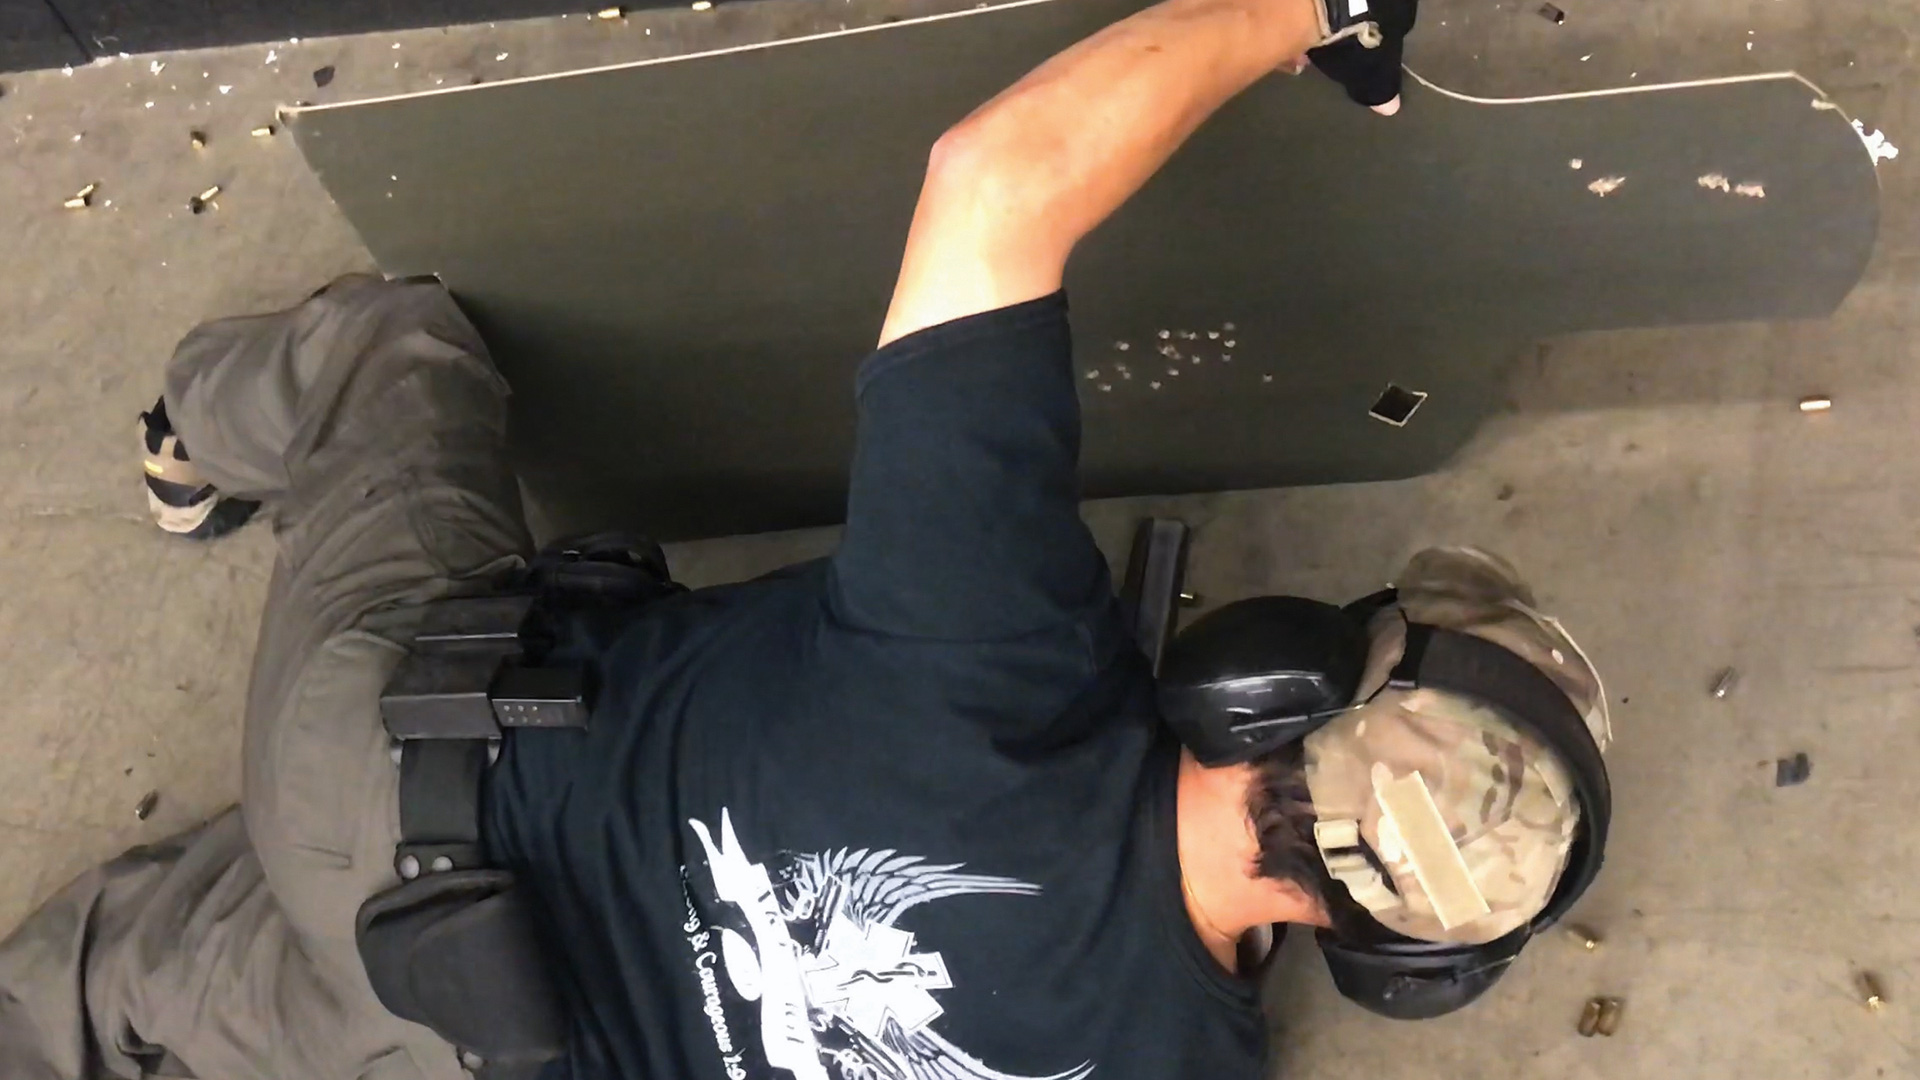
After that, we move to the “reactionary prone” position. Reactionary prone is a support-side prone shooting position. Since the urban and reactionary prone positions are strong-hand dependent, I file my left-handed shooters to the end of the firing line for additional safety during the iterations. Sorry, lefties, it’s only because I have about maybe one or two left-handed shooters in each of my classes. So, that is just how it works out.
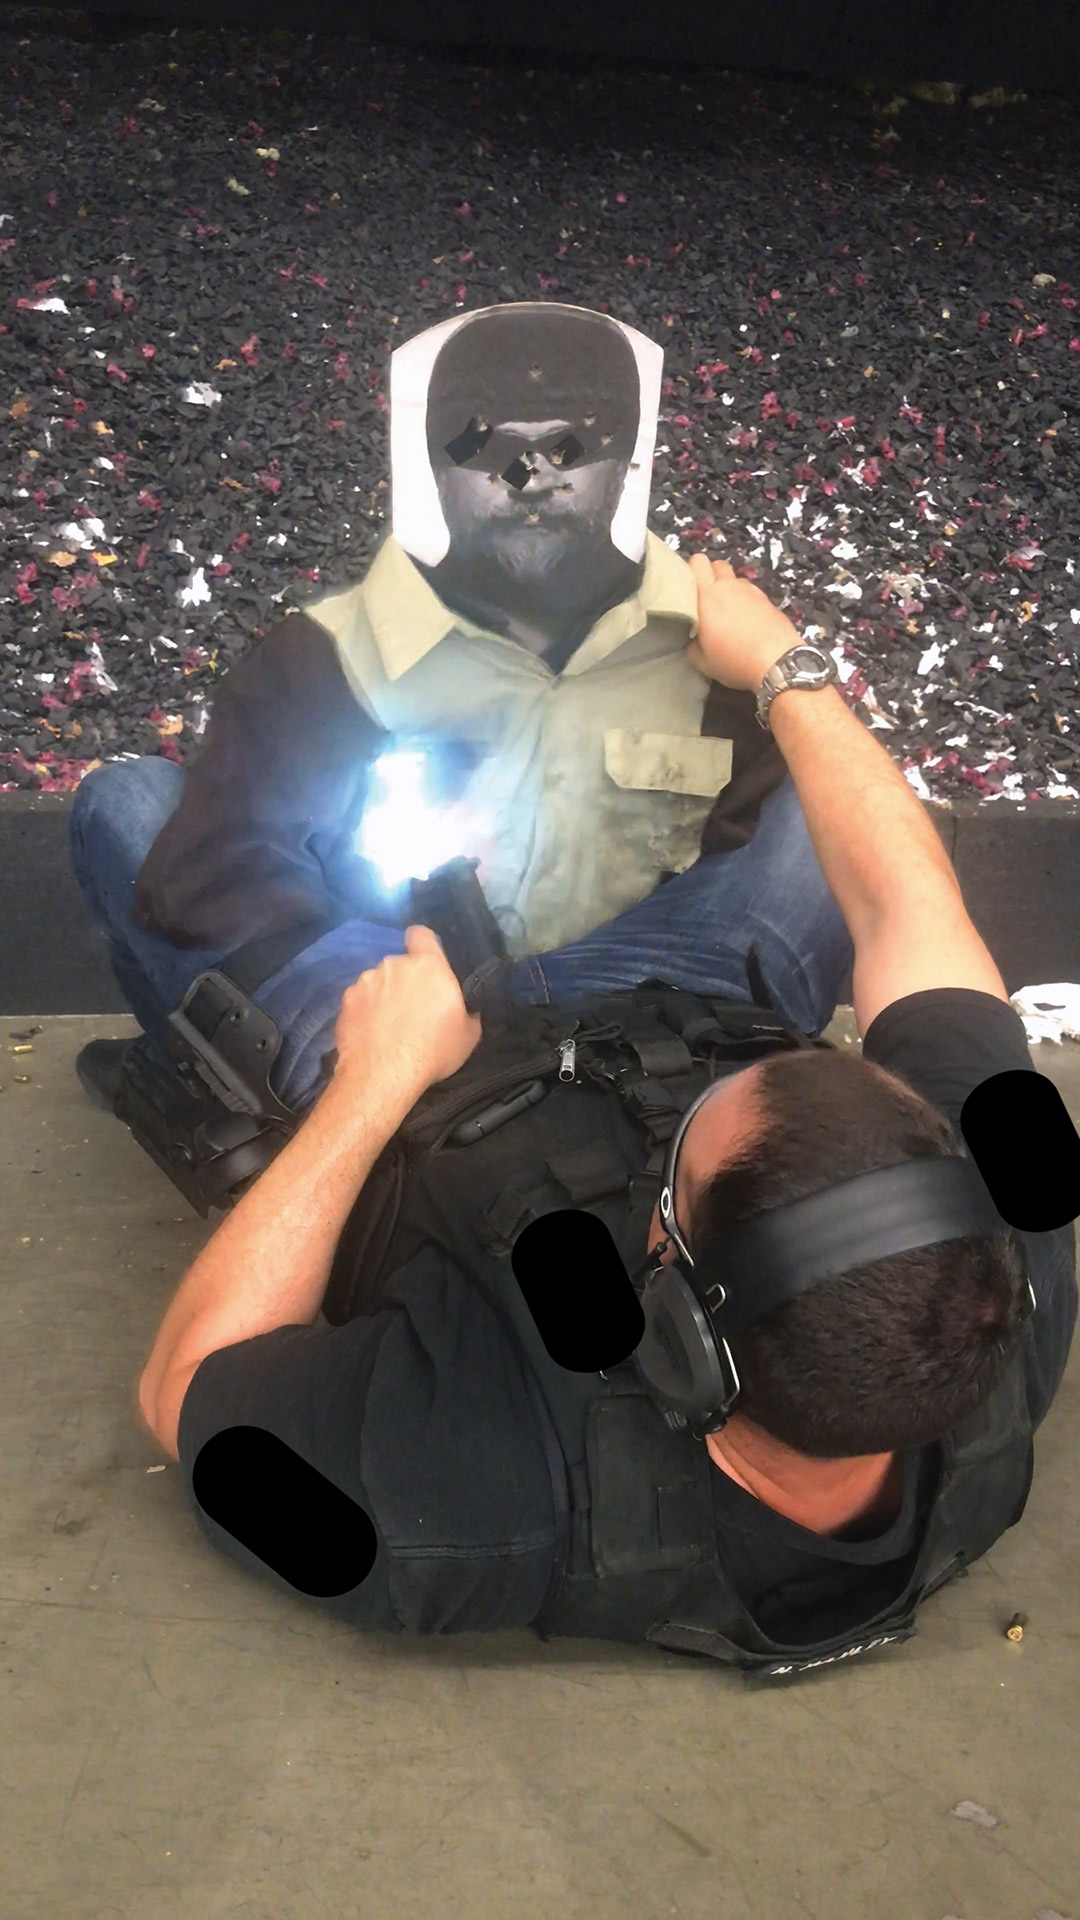
The last position (or positions) is the seated or supine position. I teach both positions, but sometimes, the angle of the bullet path may not work safely within the confines of your range. So, sometimes I nix the supine and only conduct the seated position depending on range limitations.
That is a brief overview of live-fire ground fighting. I hope this training article motivates you to push your training to the next level. So, consider coupling mat room ground fighting together with a live-fire program. I believe training in realistically uncomfortable positions is one of the only ways officers are going to be prepared for this type of deadly encounter.
I also wanted to give you some safety tips on these techniques prior to attending one of our close-quarters combat handgun classes. Here are three tips:
- Always get to the kneeling position before moving into any of the other positions. Make the kneeling position your point of return prior to moving to the next one.
- Make sure you get into each shooting position with your weapon holstered. Only draw your weapon after you are already set in your shooting position. Keep good muzzle awareness and avoid lasering yourself or others. The only position that you may have to draw your weapon prior to getting into position is the strong-side prone (urban prone). Prior to getting into this position, draw your weapon while kneeling. Then, get into the strong-side prone, keeping the weapon forward. Also, make sure that your target is close (just in front of you) so you can grab it using only your support hand to put it into position.
- When you are finished shooting in a particular position, let go of the target and let it drop. Having your support hand free for balance while getting up or moving to the next position is a safer way to do it.
Until next time, keep training to prevail. If you have any questions, please get in touch. Otherwise, #staysafe and #stayready.
Disclaimer: The techniques that were previously discussed should be completed with a certified law enforcement instructor present. Shooting in these unconventional positions could be dangerous if not executed properly. These shooting evolutions were created with Armitage Tactical instructors in mind.

