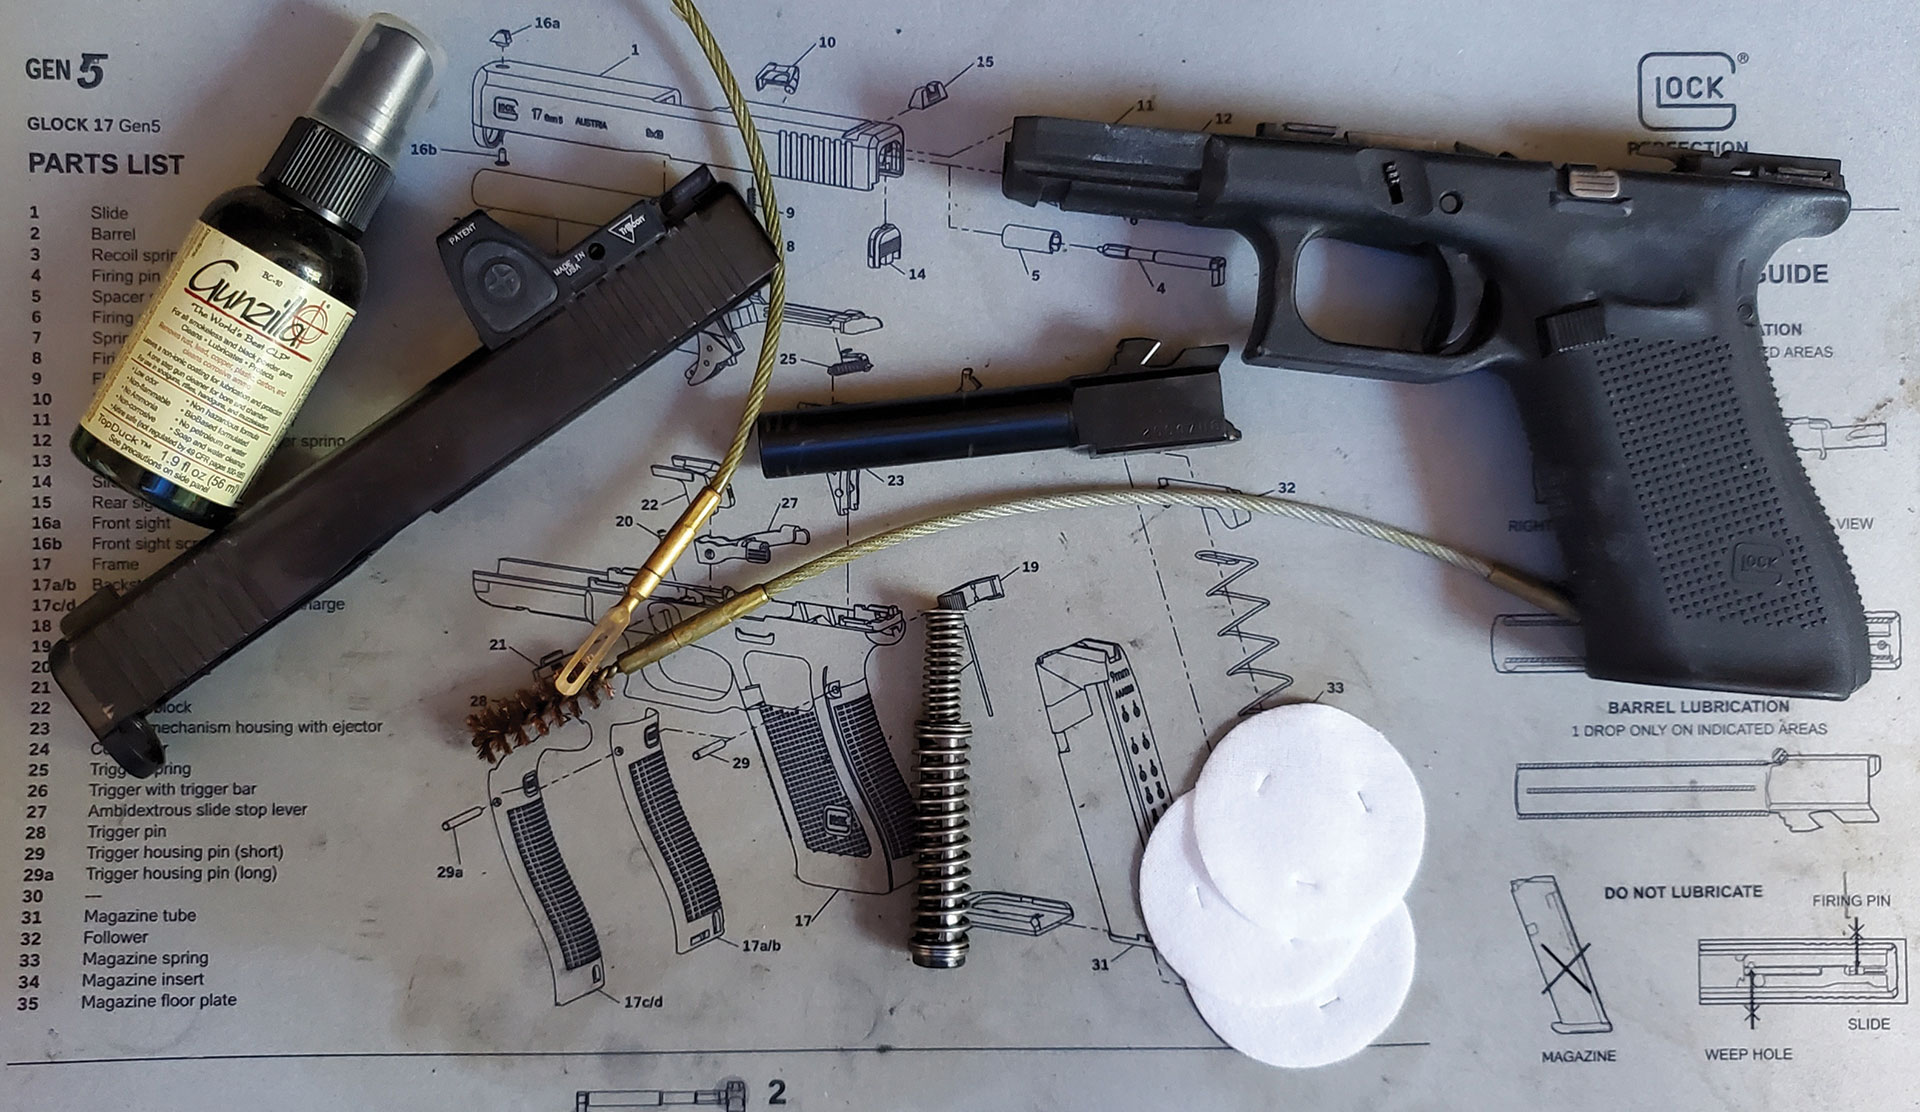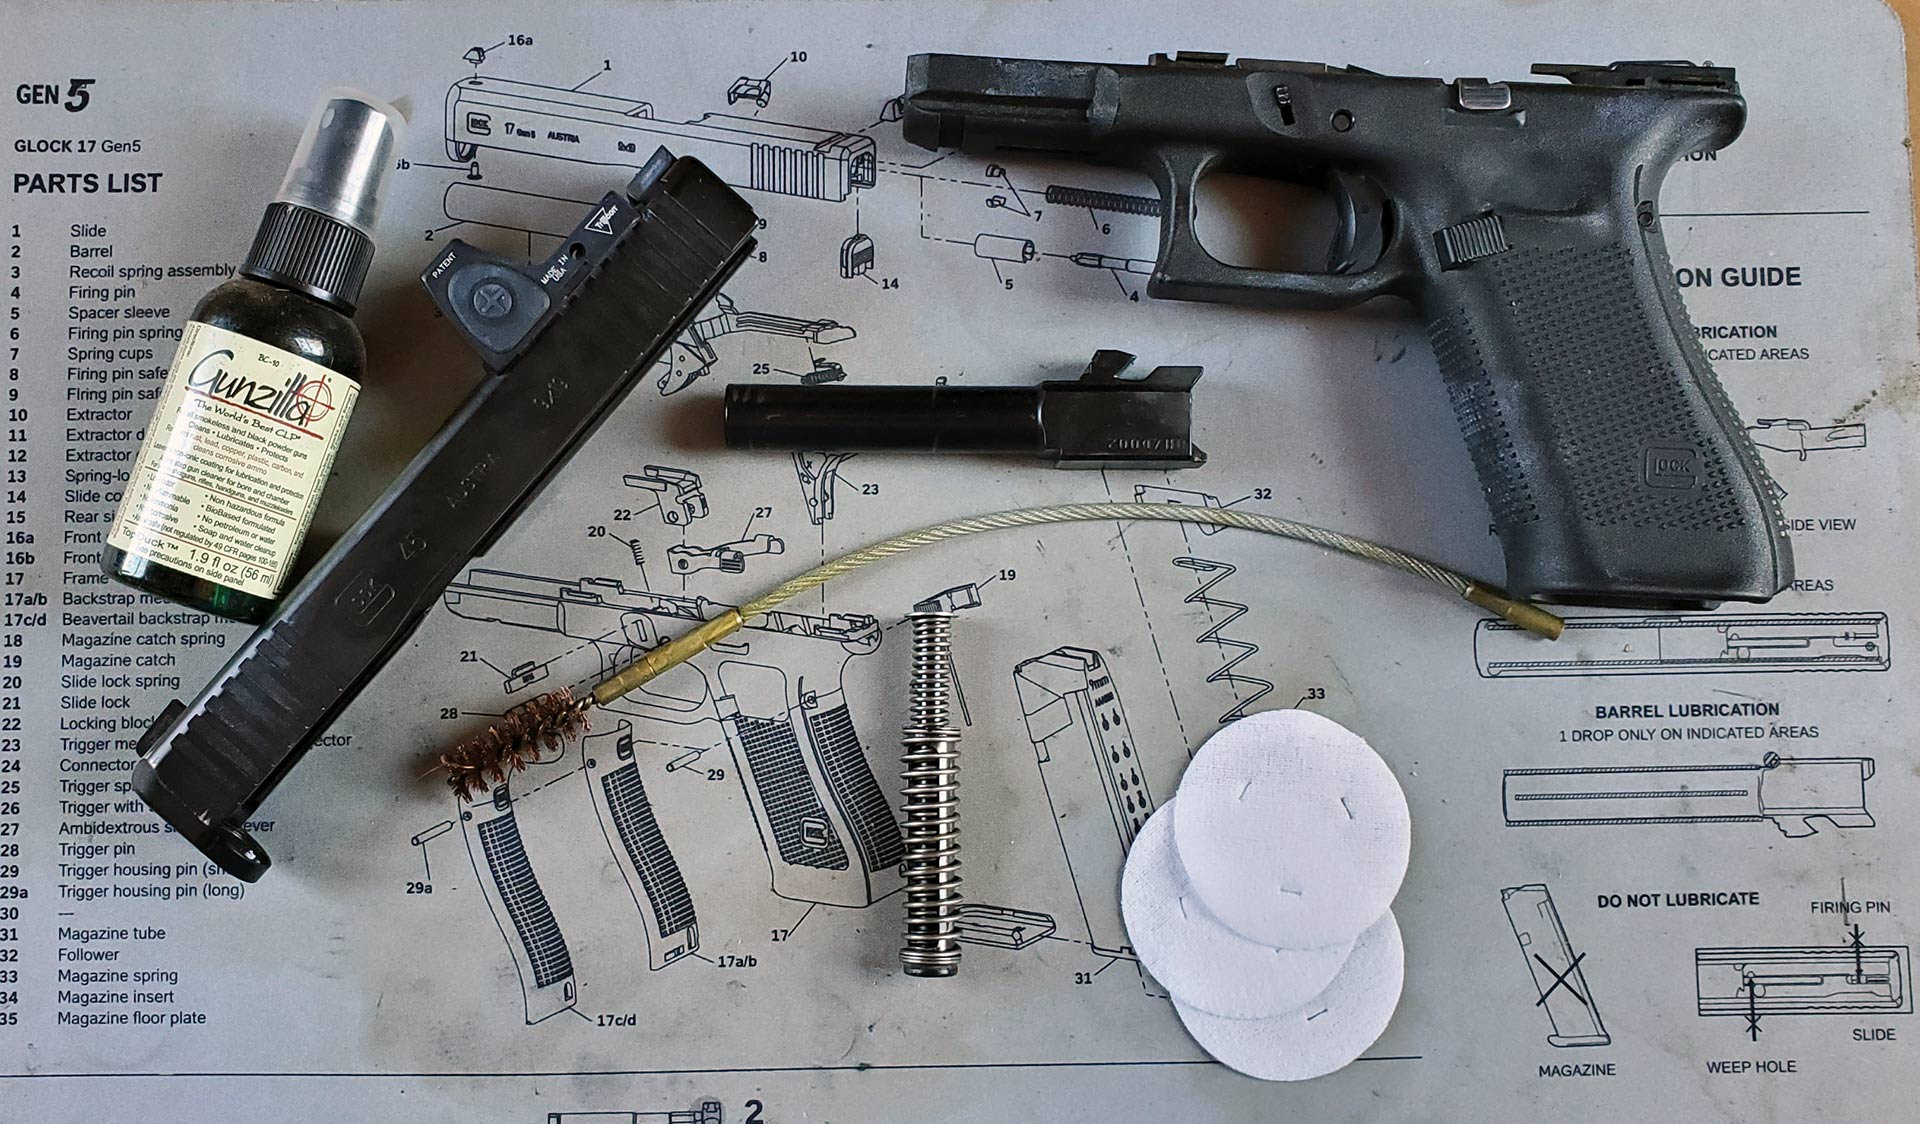
Like most of you, I really don’t like cleaning. I don’t find enjoyment in cleaning the kitchen, vacuuming the rug or doing the windows. There are some people who take pleasure in detailing their vehicles. I avoid it until I can’t stand it any longer. Besides, as soon as I leave the house, it won’t be long before I need to rewash my truck inside and out.
I don’t like cleaning, but keeping the stuff in my life clean is a necessary evil. I don’t want to live in a grubby home, and I don’t want to drive around in a truck with old food wrappers and cups littering the floorboards. My tendency is to keep things tidy without being a clean freak. I’m good at keeping things maintained so they work when I want to use them. When the oil in my truck needs to be changed, I change it. I use it, but I don’t abuse it.
Many people are surprised that I have the same philosophy with the handguns I use regularly. I don’t mind a little dirt and grime, but I make sure they’re lubricated appropriately and function correctly. Between teaching classes, shooting competitively and having my own practice regimen, I shoot quite a bit. There’s a rare week that goes by without shooting. Most instructors advise cleaning your handgun following every training session. This is true for most officers, but if I did this, I would spend as much time cleaning as training. No thank you.
This doesn’t mean that I never clean my handguns. That’s far from the truth. In fact, my cleaning and maintenance program is more rigorous than most. Every quarter, I do an armorer-level inspection and clean my handguns down to the smallest detail. I do this four times each year, but I regularly check to make sure my handguns are properly lubed.
But, if you’re the type of person who only shoots when you’re required to attend mandatory in-service training, you should make sure to clean and lubricate your handgun properly every time you’re done shooting. If you work for a department that provides on-duty cleaning time after training, you would be a fool not to take advantage of that opportunity. A clean and well-maintained handgun could be your most important tool when you need it most.

Clean, lubricate and protect
For those of you looking for guidance on some basic handgun maintenance, here’s the secret: Read your owner’s manual! I know what you think: “All duty handguns are basically the same.” Wrong. There are some important differences and quirks between the common duty handguns. Your handgun is a life-saving tool, so you should take five minutes out of your busy life to read how to properly maintain it.
Aside from certain manufacturer differences, there are some universal cleaning and lubrication guidelines you can follow to keep your handgun performing at the highest level. None of this is difficult. Other than a basic cleaning kit, a quality cleaning product, some shop rags and a quality lubricant designed for firearms, there aren’t any other specialty tools or equipment you need to get. Just invest a little time and effort, and you will be good to go.
After you unload your handgun, check it again to make sure it’s unloaded. This is a crucial step to ensure your safety and the safety of those around you. So, unload your handgun, and confirm a second time you are working with an unloaded handgun.
Next, field strip your handgun according to the manufacturer’s procedure. Put a quality cleaning solvent on a cleaning patch and run it through the barrel to remove any loose debris. If a bit more aggressive cleaning is necessary, use a bronze or plastic bore brush with the cleaning solvent to break up the stuck-on crud that builds up. Follow this up with the cleaning patches and solvent. Pay special attention to the chamber. A clean chamber can help avoid the failure-to-extract malfunction gremlins. Don’t forget to clean the outside of the barrel, including the barrel hood and locking lug.
Now we can move on to the slide. When doing a basic cleaning, I like to use a brush to remove loose carbon and dirt. If you have heavy fouling, a light application of cleaner can help break it up. Be careful not to get any debris or solvent into the striker/firing pin channel in the breech face. This can be avoided by keeping the striker/firing pinhole facing the floor and letting gravity be your friend. Wipe the slide clean with patches, rags or cleaning swabs. Make sure you remove all the debris that builds up on the extractor claw so it can get a good grip on the cartridge case. Again, this can prevent a lot of failure-to-extract malfunctions.
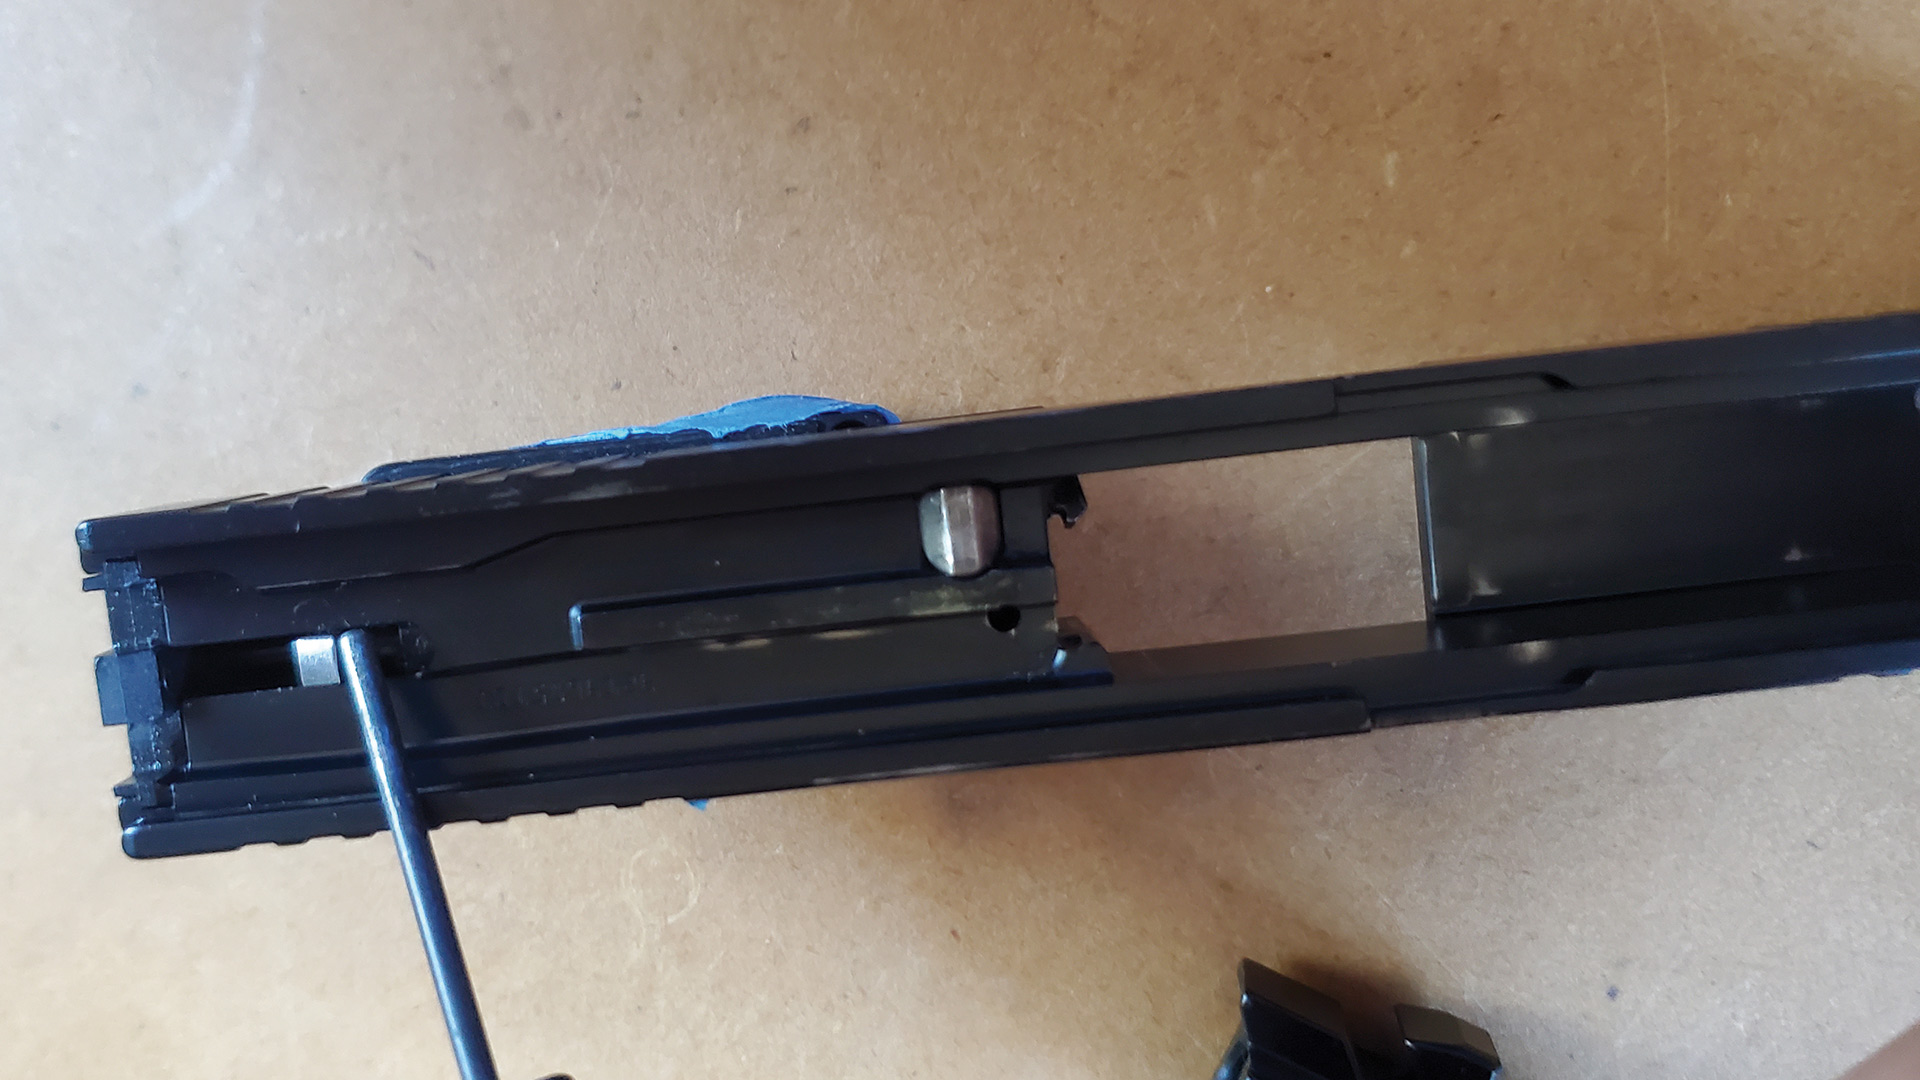
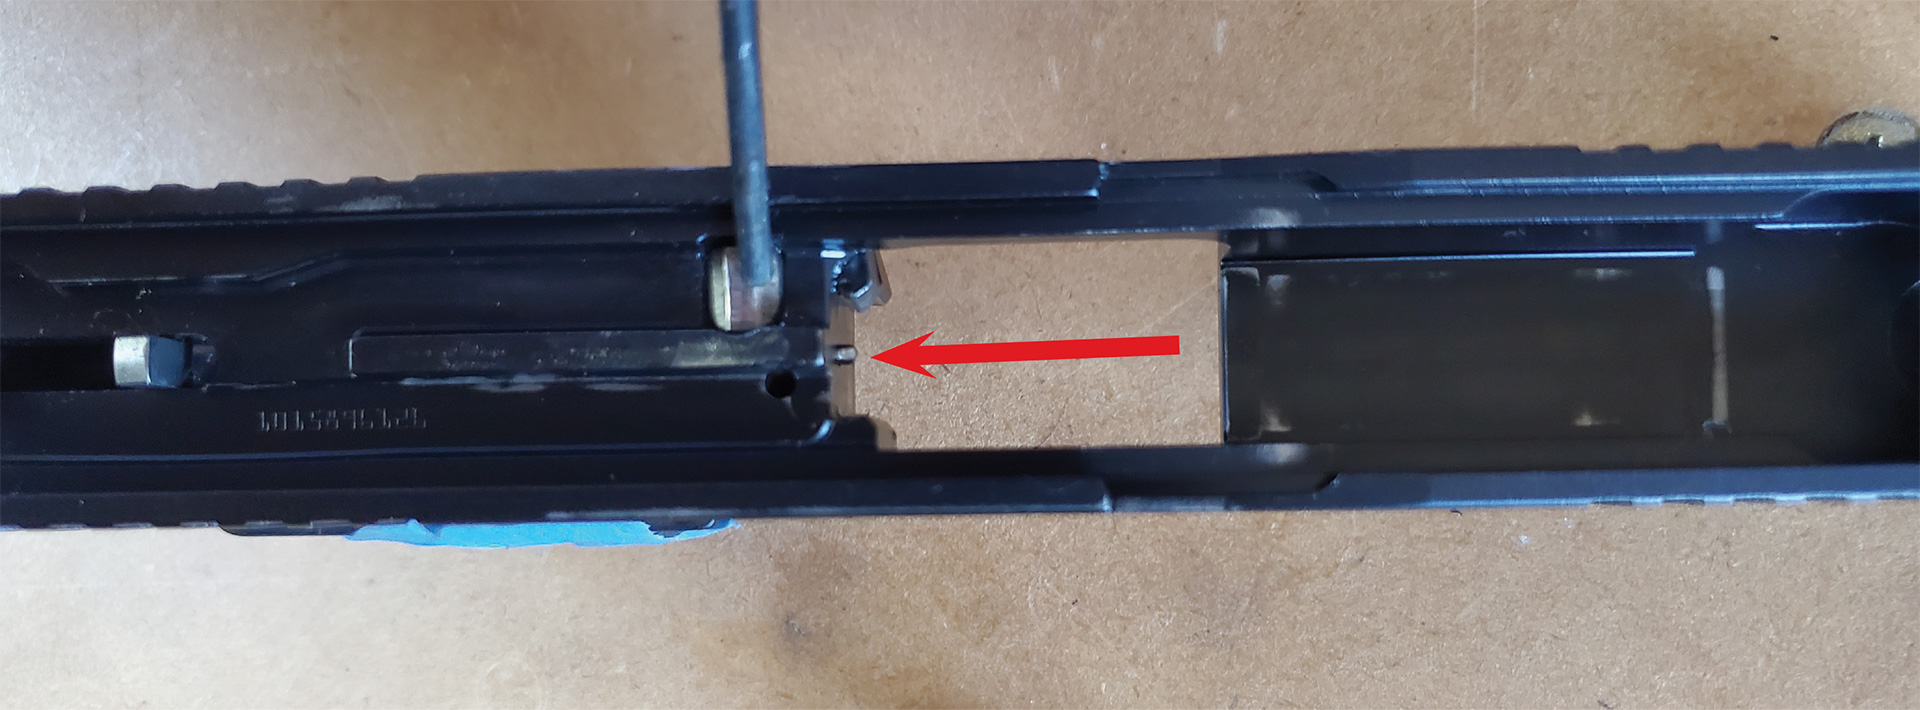
The last thing to check on the slide assembly is the proper functioning of the striker safety. Engage the striker safety by pulling back slightly on the foot of the striker or the part of the striker sticking out in the middle of the slide. If you push forward on the striker, it should not move forward and protrude from the breech face. Once you push down on the striker safety, the striker should be able to move forward slightly out the breech face. If this function test doesn’t work, contact an armorer to inspect and correct this problem.
When it comes to cleaning the frame, there are a lot of nooks and crannies where debris can collect. Use a brush to clean the frame, including the slide rails. I like to focus my attention on making sure the magazine well is clean. This is one area where a dirty gun can drive me crazy. I get frustrated when magazines stick in the magazine well instead of dropping free. Keeping this area free of dirt and grit helps tremendously. Before you move on to the next step, make sure you remove all solvent and residue completely from every part of the frame.
Lastly, don’t forget about your recoil spring or your magazines. I like to wipe down the recoil spring with a light coat of oil on a patch to make sure it’s clean and protected. Magazines collect a significant amount of dirt, lint and other garbage. This is the time to disassemble the magazines and wipe all the parts clean. Pay attention to the inside of the magazine tube and the follower. Keeping these clean is important to proper function.


Lubrication
As a firearm instructor, this is one area where I really wish people would read the owner’s manual. With today’s duty handguns, we see more malfunctions caused by over lubrication compared to dry handguns. Over lubrication attracts more dirt, unburned powder and debris, which cause stoppages.
As a general guideline for striker-fired handguns, I put a couple drops of oil on a patch and wipe down the exterior of the barrel, as well as the inside of the slide. I put a single drop of oil on each frame rail, a little on the connector and a little on the sear. That’s it. No more. We are done. Never put lubrication inside the striker channel or magazine tubes.
Function test
Once you finish cleaning and put everything back together, it’s important to do a function test. Start by once again verifying that your handgun is unloaded. Next, check to ensure the trigger safety (if equipped) functions properly by pushing on the trigger without touching the trigger safety. The trigger should remain blocked. Next, press the trigger as you would while firing. The trigger should function normally.
The next function test to perform is to make sure the trigger and striker reset as designed. Pointing the handgun in a safe direction, perform one dry fire trigger press. Hold the trigger to the rear, reset the striker by running the slide to the rear and slowly release the trigger forward. The trigger should reset normally. Perform a second dry fire trigger press to make sure the striker resets.
The last thing I check is the function of my magazine release. I insert an empty magazine and make sure it locks into place by tugging on the magazine base pad. Next, I depress the magazine release to make sure the magazine drops freely. I do this with all my magazines to make sure they function the way the manufacturer intended.
If any of these tests fail, have an armorer inspect, correct or replace the required parts.
Annual armorer inspections
Once a year, a certified armorer should do a complete inspection of your duty handgun. The parts and names vary between manufacturers, but the basic inspections are the same. This inspection should cover the frame and slide assemblies, magazines and the barrel. It should cover all the internal parts, such as the striker assembly, the takedown lever, the locking block, trigger and trigger bar, the sear housing block and connectors. This is the perfect time to replace all the springs.
Duty handgun manufacturers provide armorers with inspection forms to help document the annual inspection. This ensures everything was checked and replaced as needed. Unfortunately, many departments fail to make annual armorer inspections a priority, so it may fall on your shoulders to make sure it gets done. After all, the handgun you carry on duty should mean more to you than it does to anyone else. Get it done.
A regular maintenance program will keep your handgun running properly when you need it most. And just as importantly, get out and train with it. Use it, but don’t abuse it.
As seen in the November 2022 issue of American Police Beat magazine.
Don’t miss out on another issue today! Click below:


